How to use CG100 Prog III and Multi-meter to wire Toyota airbag for reading and writing
How to use CG100 Prog III and Multi-meter to wire Toyota airbag for reading and writing?
Check the step-by-step guide below.
All goods required:
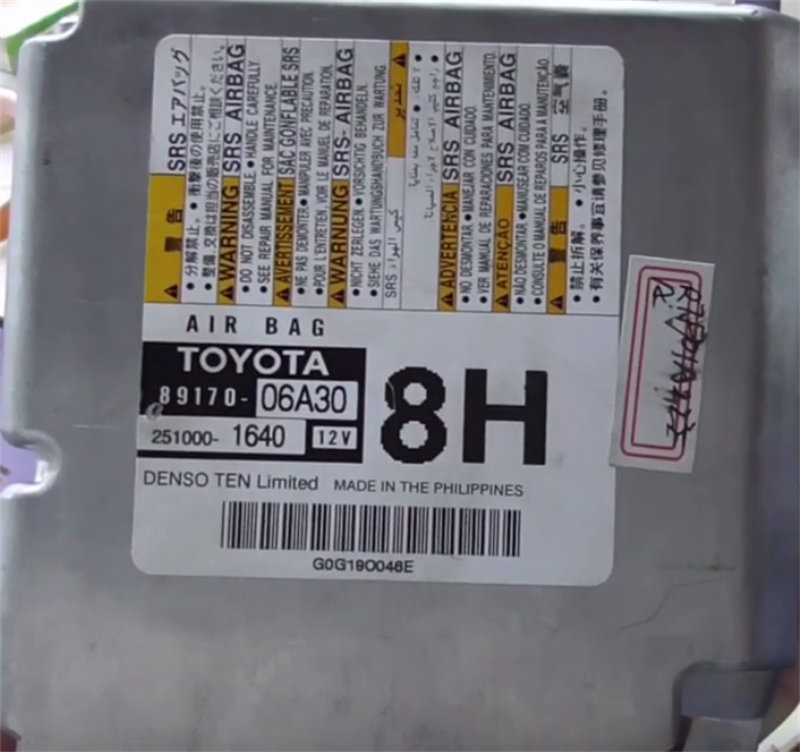
Airbag: i.e Toyota 89170-06A30, chip R7F701A223
CG100 III Airbag Reset Tool
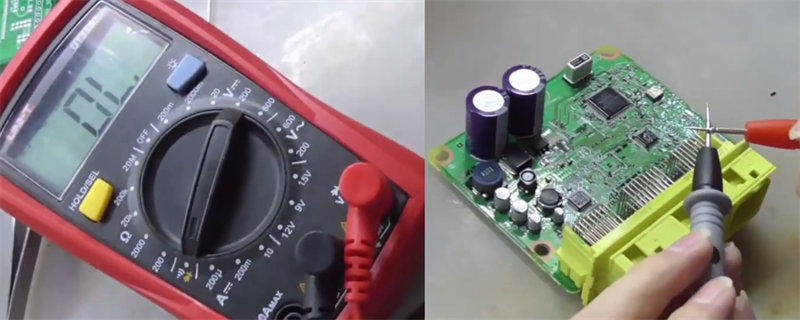
Multimeter
Tin (Tin the solder joint to make it easier to wiring)
Soldering tool
Wiring steps:
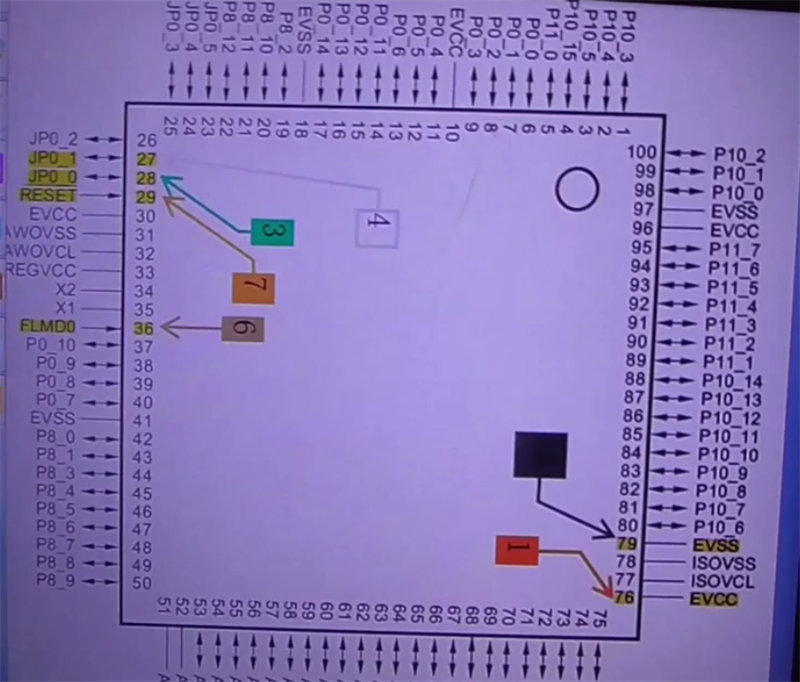
Step1: Find the chip pin diagram in CG100
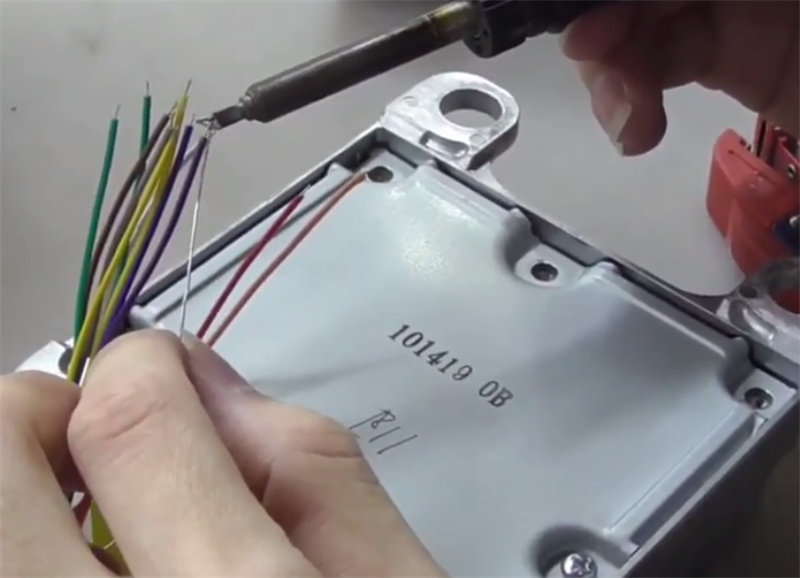
Step 2: Put some tin on the cables, it will be more convenient for using next time
Step 3: Test if the multi-meter works well or not. The multimeter should be in buzzer mode and can work well
Step 4: Sometimes the chip pin can not detect well, so make some tin on it (if your welding skill not good, don’t do this step)
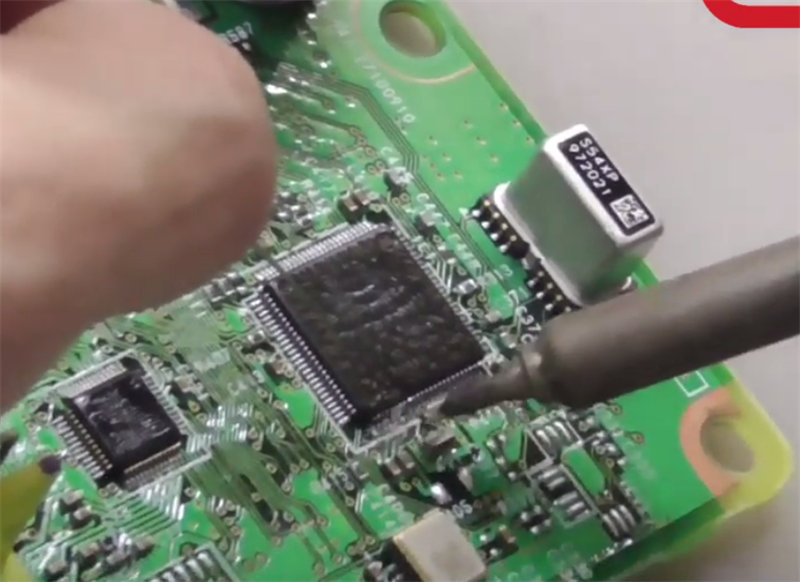
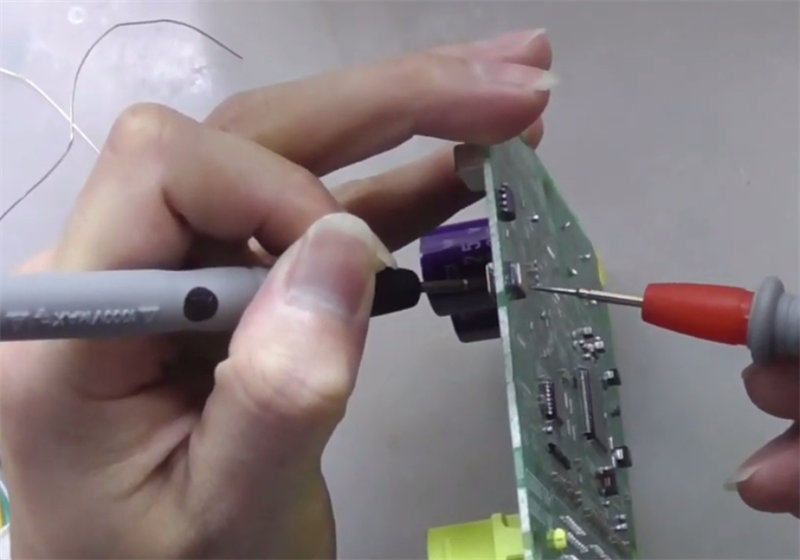
Step 5: Connect the chip pin with the multi-meter one side, and use multimeter other side to find the solder joints (chip 1, pin7, pin3, etc) which is easy for wiring
Step 6: Tin the solder joint to make it easier to wiring
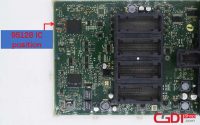
Step 7: Then start wiring. Make sure all cables are connected well
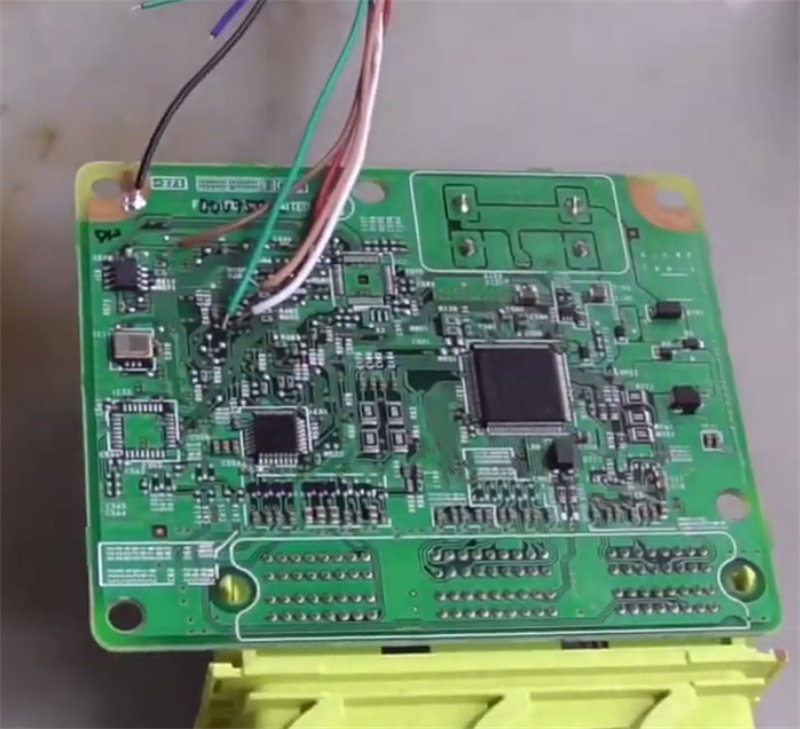
Step 8: Then start to read and write
Read and write steps:
First search if it has this model in the airbag page of CG100 software
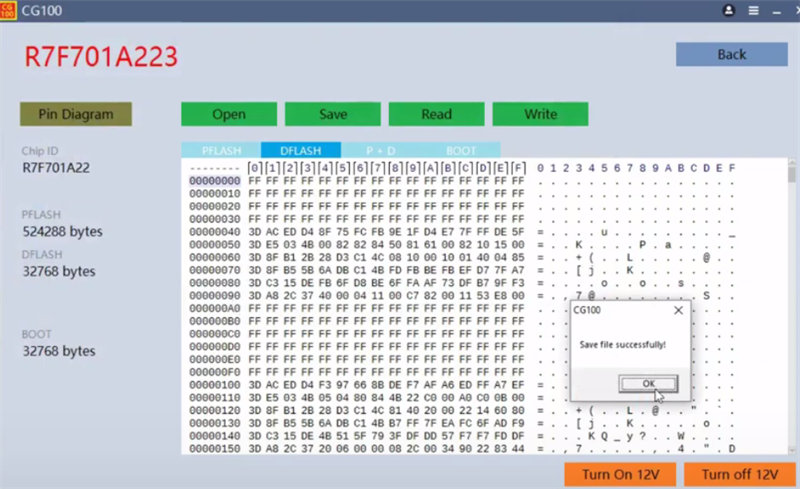
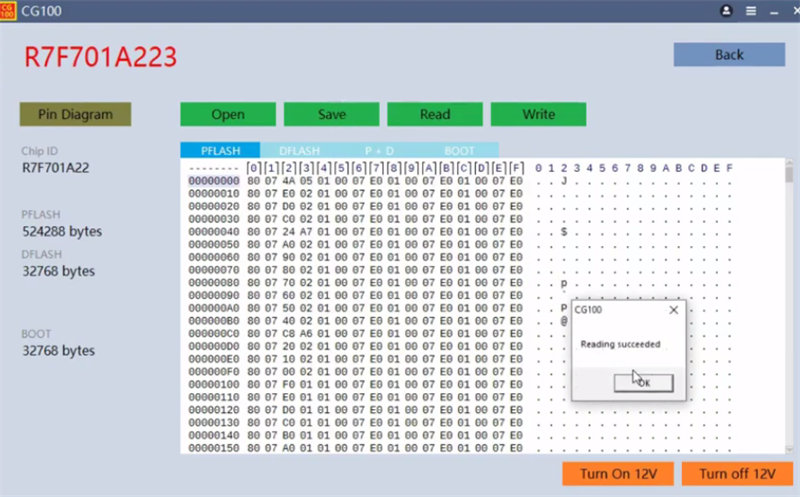
There is no related model found, then search the chip R7F701A223 in programmer page.
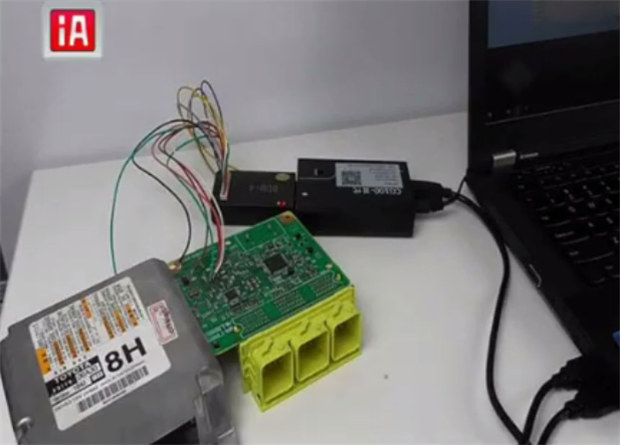
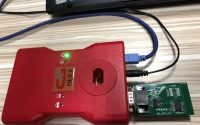
Connect all devices.
Normally, it just needs your Dflash data when you want to clear the airbag crash.
Click Read to start reading dflash data
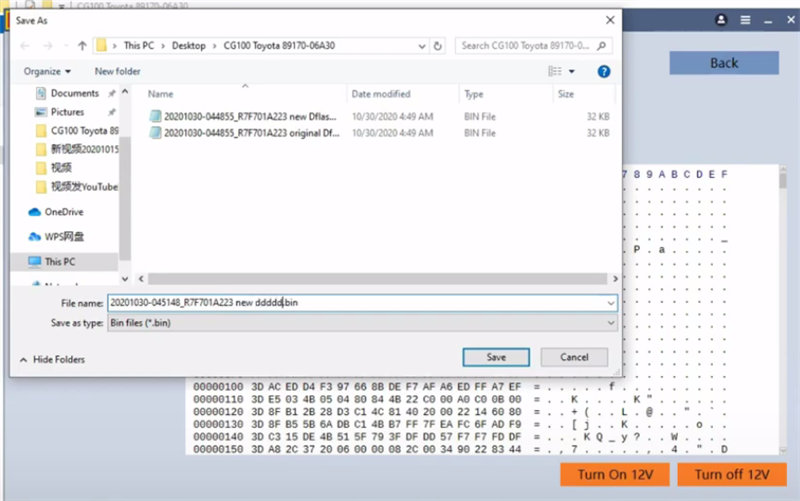
Read the data successfully, then save it with a new folder
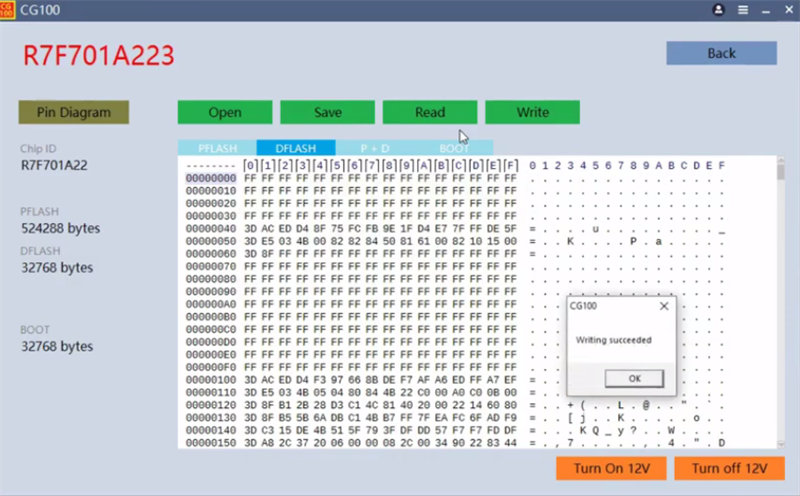
Change the original data and write into the airbag
Write the different data into airbag
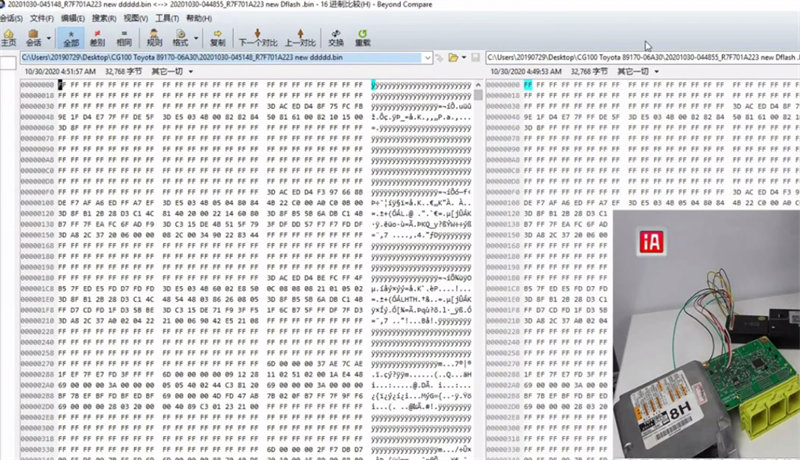
After writing, read the data again, and save the new data
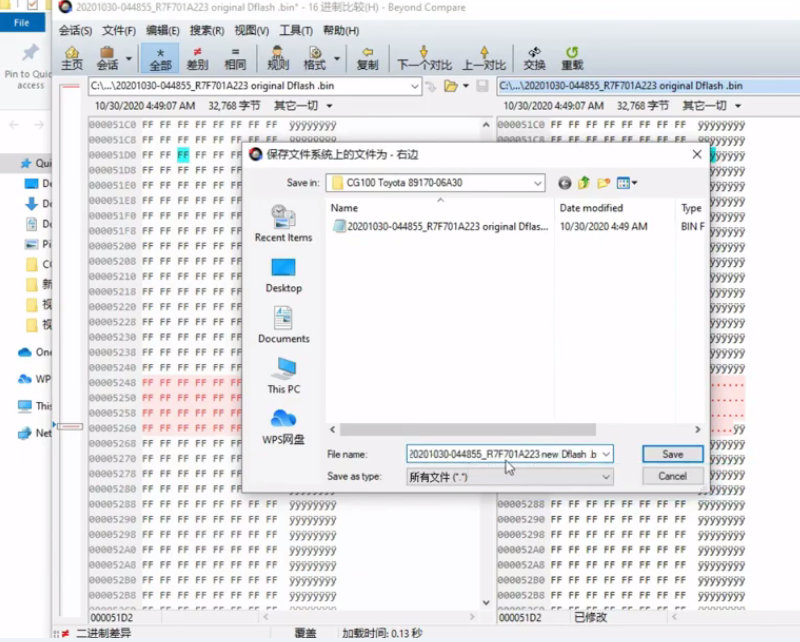
Put two different new data file into Beyong compare for comparison
They are similar.
It also read the PFLASH data successfully with CG100 Prog III programmer.
Done!
How to Use CGDI BMW to Adding & All Keys Lost for BMW FEM/BDC
CGDI MB Write Original Key With NEC Adapter