Mercedes Benz GL450 New Key Programming by CGDI MB Prog
This article show you the step-by-step guide on how to use CGDI Benz Prog to add new keys for Benz GL450.
Step 1: Collect EIS Data
Connect CGDI prog MB to vehicle and PC
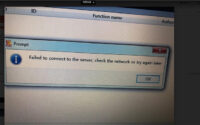
Make sure the network is connected and keep the voltage stable
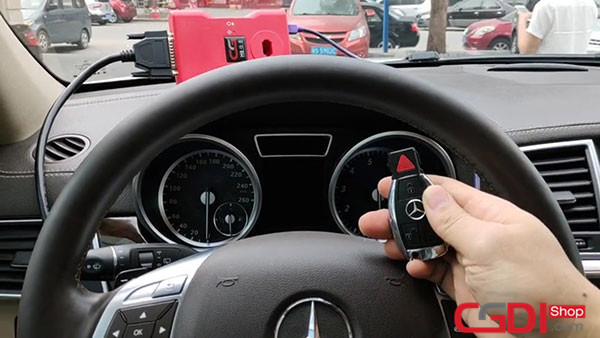
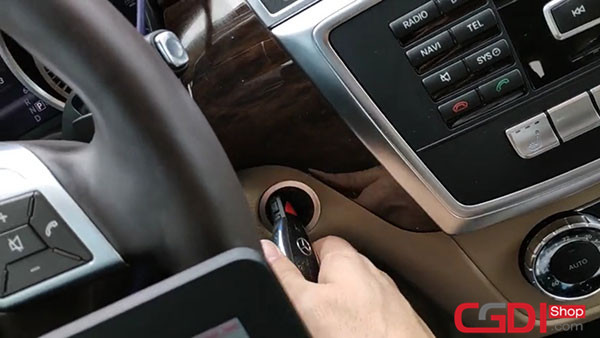
Note: This car is one-click start, it cannot program new key directly. Please take out the one-click start button and insert the original smart key.

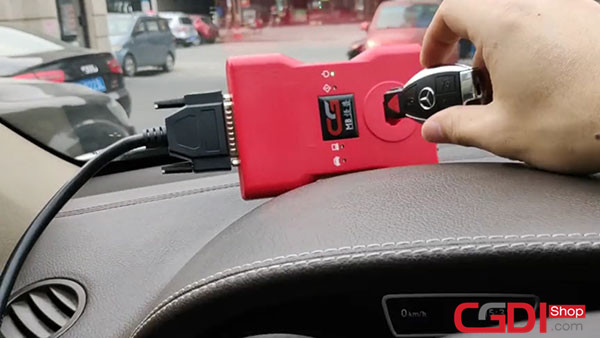
Insert the original car key to CGDI MB device to read key info
Open CGMB software
Select “EIS”–>”Read EIS Data” to display key info
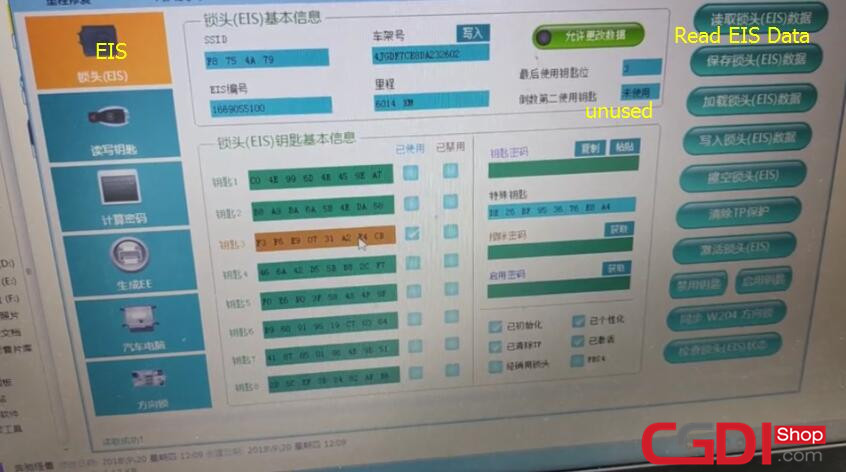
The key can program new key.
Click “Compute Password”–>”Copy key with key” –> “Collect Data”
Select other key mode, and then click “OK”

Insert the original key into EIS and click “OK”
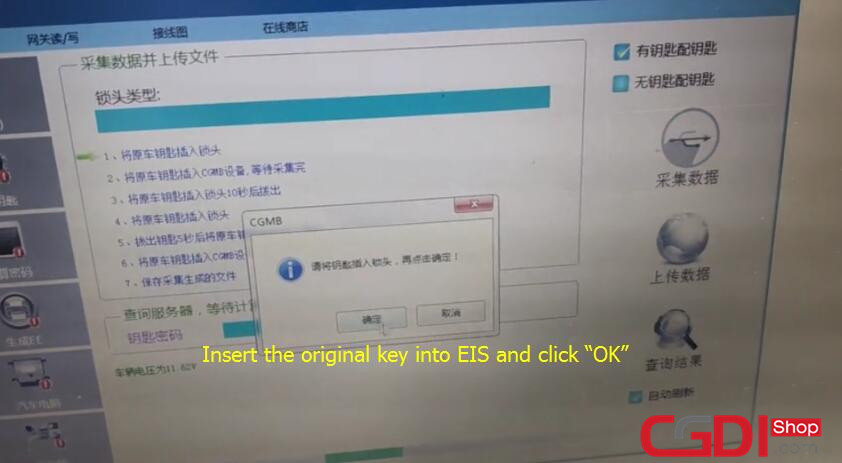
Note: Insert the key, no need to twist it
Then insert the original key into CGDI MB coil, and click “OK”
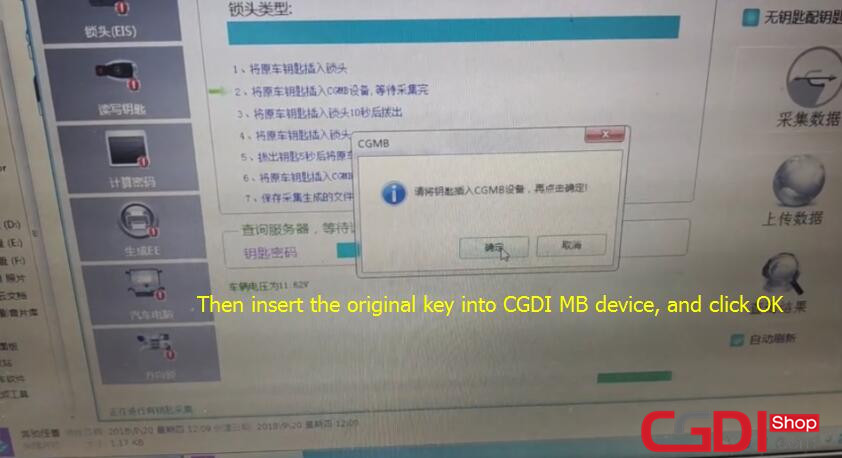
It will take about 3 minutes to collect data
EIS data is collected successfully
Follow the prompts to insert key again and again
Insert the original key into EIS and click “OK”
Wait for 10s, take out the key
Insert the original car key into EIS again
Take out the key for 5s, and insert into EIS again
Insert the original key into CGDI MB coil again
Click “OK” to collect data
Complete collecting data and save data to desktop
Save the file successfully, please upload the data to calculate PASSWORD

Click “Upload Data” and open the file saved just now to upload
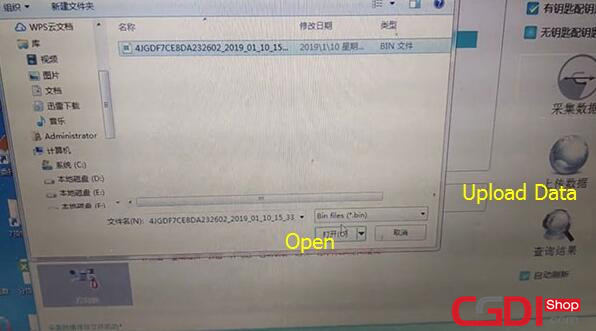
Upload the data successfully
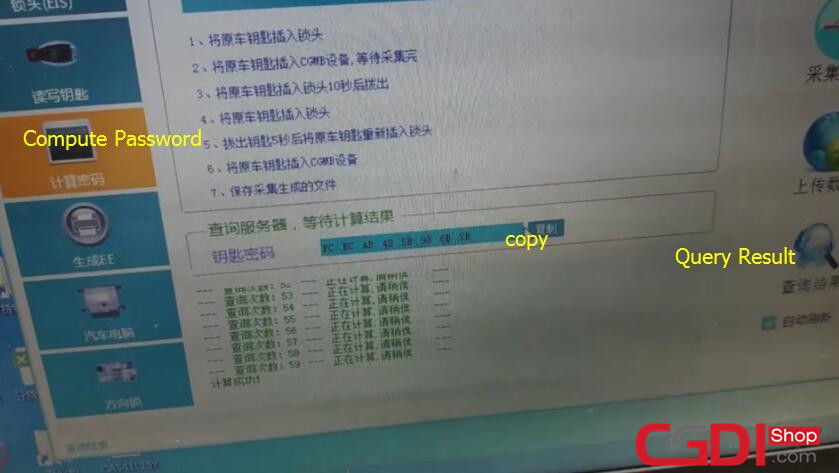
Step 2: Calculate password
Click “Query Result” to calculate password
This procedure needs about 2 minutes
Computing success
Copy the password calculated to desktop to backup
Click “EIS”-> Paste the password-> “Save EIS Data”
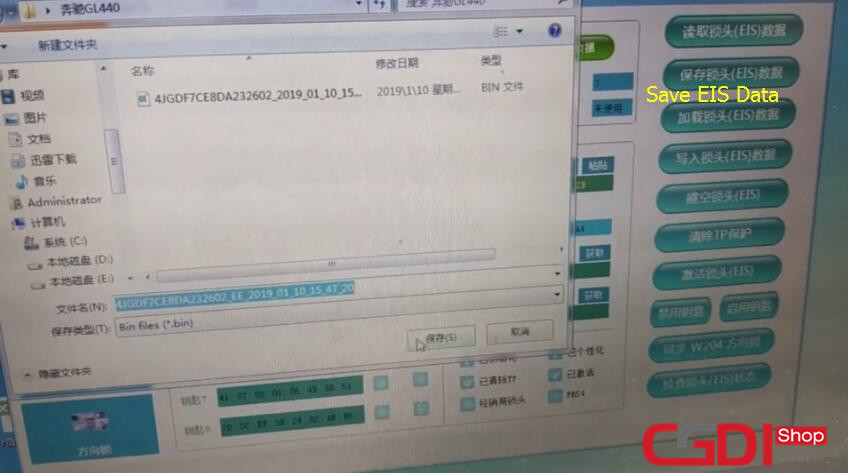
Save data succeed
Step 3: Generate key
Select “Generate EE”-> Remove the tick mark of key 3
Click “Load EIS file” to check EIS data info
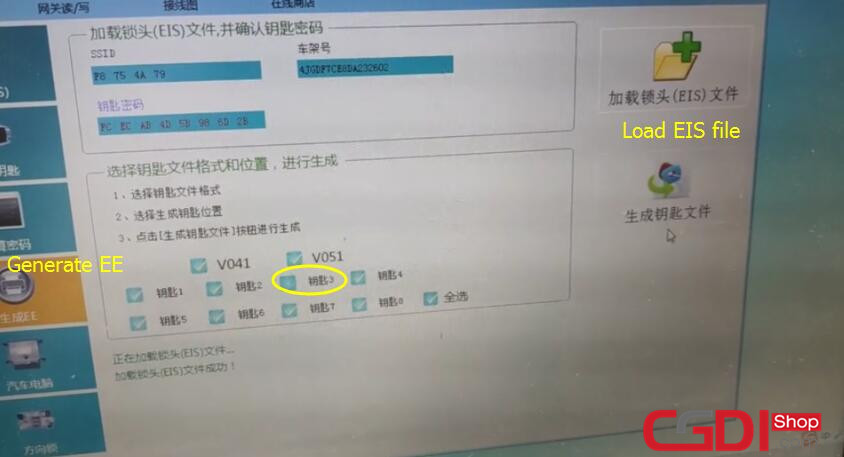
Confirm the key password is correct
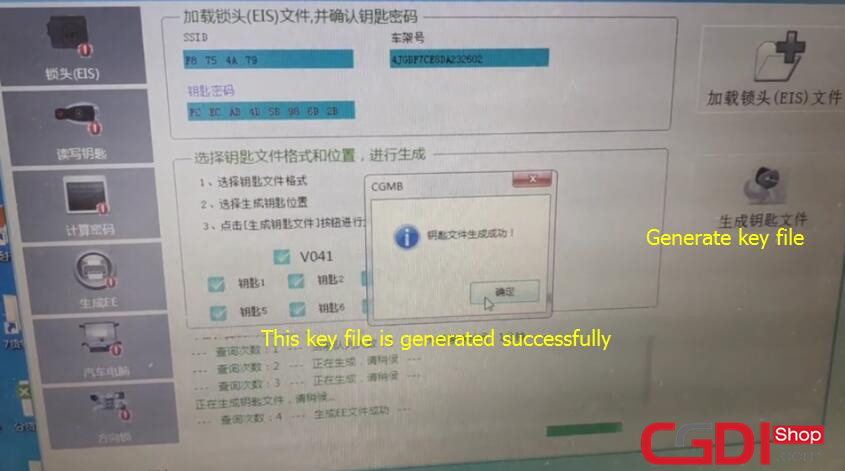
Click “Generate key file”
It takes 1 minute to generate
Save the file to desktop
The key file is generated successfully
Step 4: Write new key
Insert the new key into CGDI MB
Select “Read/ Write Key”-> “Infrared”-> “Read Key/ Chip”
This new is not used, can be programmed
Click “Reset” to erase the key data
Note: Regardless of the key is used or not, please remember to erase the data, otherwise will be failed to write
Reset operation succeed

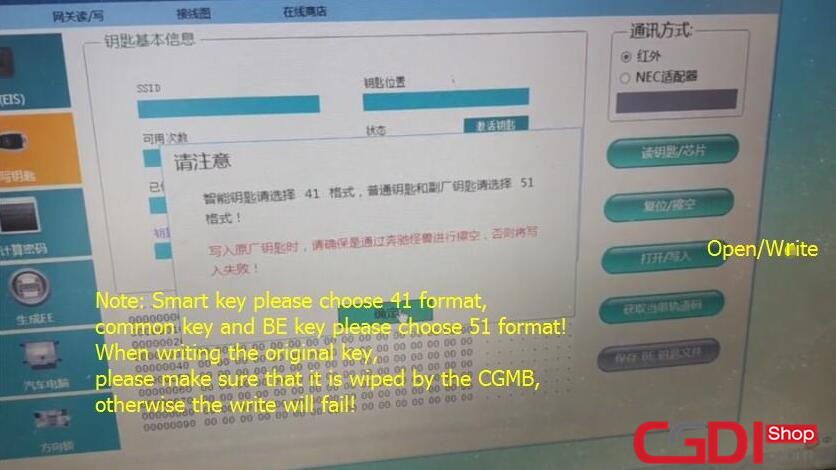
Click “Open/Write” button
Prompt “Smart key please choose 41 format, common key and BE key please choose 51 format! When writing the original key, please make sure that it is wiped by the CGMB, otherwise the write will fail!”
Click “OK” to continue
Choose one key unused file to write
Write success
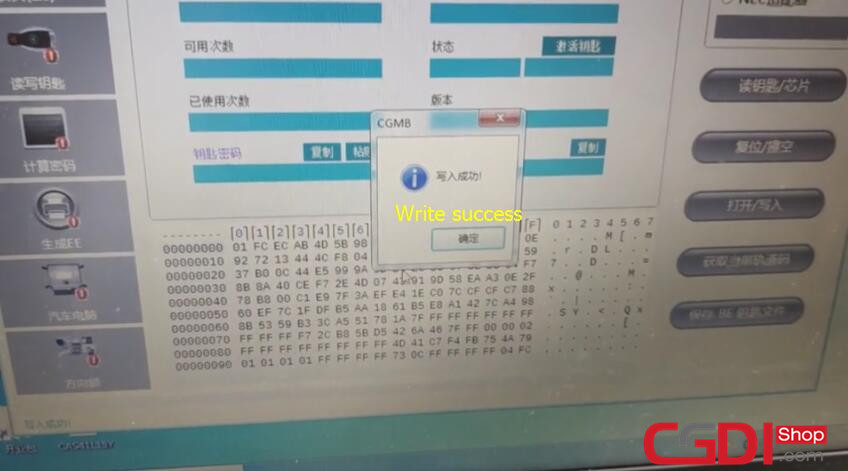
Click “Read key/ chip” to confirm whether the key is written successfully or not
Finally, test the new key
Insert the new key into EIS to learn automatically
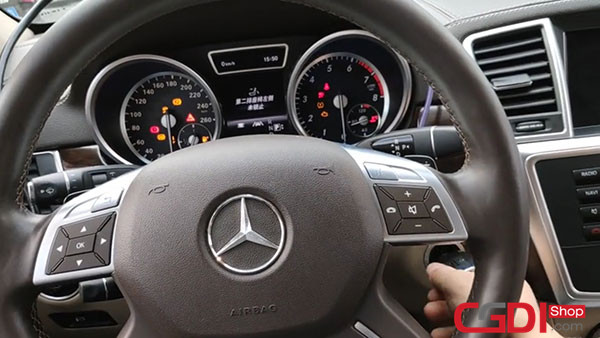
The car can start normally
CGDI MB programs Benz GL450 smart key successfully
Citroen EDC17C60 read and write by CG FC-200
How to Correct Mileage on VW Vento NEC+35XX White Meter by CG201